Tutorials

Saturday, November 20, 2010

Another Baby Quilt...


...this time in blues.


Once again I quilted something different in each block.  I also washed and let it lay flat to dry.  I usually don't do this before I gift a quilt away, but this time I did.  I like the fresh, clean and crisp look of it before it gets all wrinkled and crinkled. 


The back is flannel.  I inherited some binding scraps and this red piece was the perfect length-not only did did I not have to sew another strip on, but I didnt even have to trim it at all!  How crazy is that?

Monday, November 15, 2010

A quilt in progress...


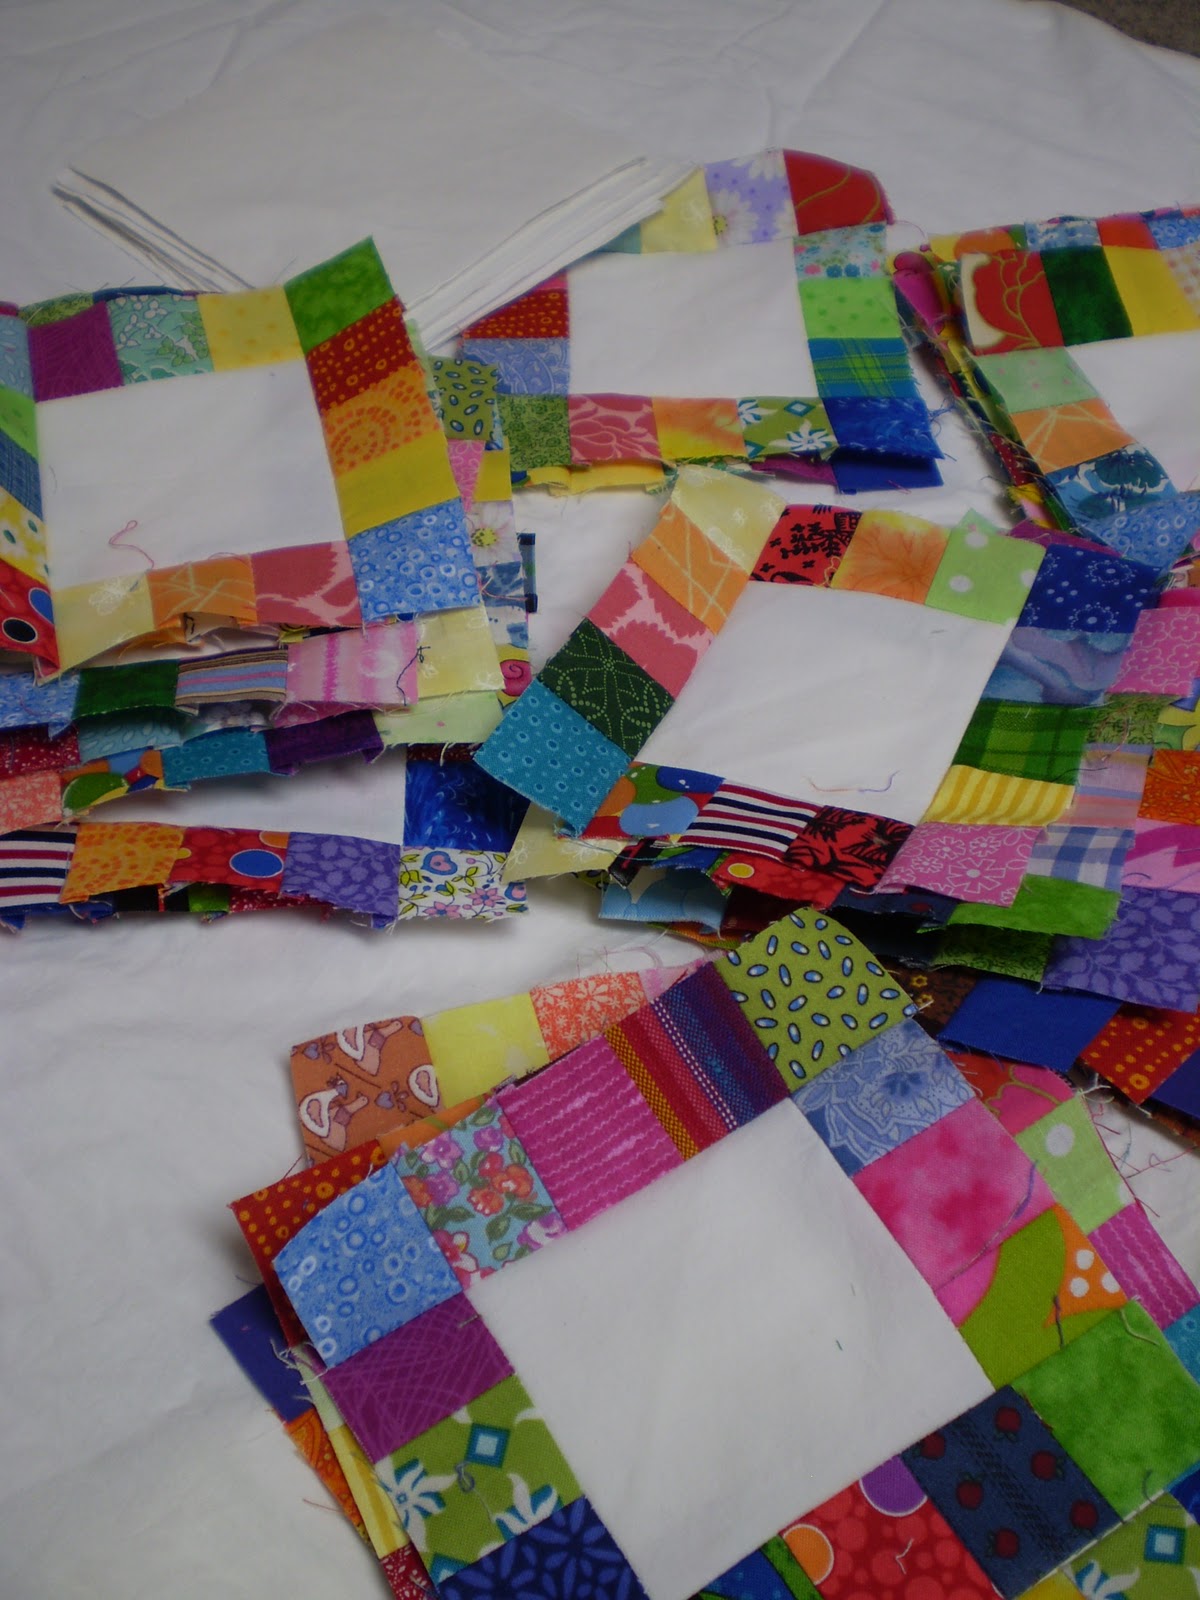
This weekend I was motivated enough to start a new sewing project.  I've been wanting to make this quilt tutorial from Red Pepper Quilts for a while and once I started piecing 1.5" strips, I could not stop. 


Boom.
42 Blocks.
Done.


And I still have plenty of pieces left over.  The plan is to use these up in a border. 

Thursday, November 11, 2010

Heritage Squares


This quilt was made by my fiercely quilty family for a cousin's wedding.  It is super scrappy!  We actually made this in a weekend sewing extravaganza, but we each came with a handful of blocks already pieced plus some ready to assemble- so we might have cheated a little bit.  OK- Actually even with the "cheating" we just barely got all the blocks made and laid out onto the floor by the time everyone had to leave.  But then I spent the next couple weeks tweaking the layout; shuffling a block around here and there, looking at it without glasses or contacts, in the light, in the dark, squinting really hard, looking from the corner of my eye, from close up, and from a distance to try and get the lights in the center, darks in the 2 opposite corners, and then the mediums in the opposing corners.  It took some time and effort but I think the resulting effect was well worth it.


Looking at these pictures now, I still see some blocks that perhaps should have been switched around.  But it got kinda tricky because we had duplicates of some of the pieced blocks, and some of the spacer squares were repeats too, so making sure that no 2 fabrics were next to each other got challenging after a while. 


For the quilting I did wiggle-waggle-loop-loop-loop, and repeat.  I stayed in the dark parts and left the little light squares unquilted which resulted in a somewhat trapuntoed effect. 

To give you an idea of the scale- the spacer blocks were 5 inch squares and the littler white squares are 3/4 inch squared finished.  This Heritage Squares pattern was featured in the Sept./Oct. 2005 Quiltmaker magazine.  I really love how it turned out- as did the bride and groom.  I kinda want to make another one now.  :)

Thursday, November 4, 2010

Constructive Criticism


This is my entry for the Blogger's Quilt Festival. 

I bought a jelly roll of Kaffe Fassett fabrics and then had a hard time figuring out what to do with it.  Flipping through a Connecting Threads catalog I came across this pattern called Sweet Nothings.  I was going to order the pattern when Mom says "Oh, You can just figure it out and make your own pattern".  yeah, what kind of quilter am I when I cant even make my own pattern?!  So I drew it out and made this.  There were 50 different fabric strips and each strip made 2 blocks.  There was 1 duplicate block that was extra.  I quilted swirls all over and stayed up late sewing the binding on so that I could enter it into the county fair.  I stayed to hear the judges comments, which was... humbling.  She could tell that I did the binding in a hurry because my corners were not very crisp and neat.  But i did manage to get a blue ribbon!  And I made a point to learn how to make better binding corners from then on.  :)

Monday, November 1, 2010

For Sewing on the Road


I've been wanting to make a little sewing kit to hold all those little supplies to make it a lot easier to take projects along with me.  I nabbed these Kaffe Fassett fabrics at the AQS show a couple weeks ago with this project in mind.  It was a difficult task finding the right button.  My selection is a bit limited and green one was the perfect color, bit it just was not big enough.  So I stacked it on top of a bigger one.  Then I realized that I would have to stitch it on INSIDE the little pocket...


A little tricky.  I used Rae's pleated pocket tutorial.  The left side features a bit of ceiling fan chain to use to thread a spool of thread or bobbin onto. 


And everything gets snapped in with a couple flaps of felt and some sew-on snaps.  I wouldnt play hacky-sack with it, but I don't think anything is going to fall out with the normal tossing about.  Unfolded it measures 5.5 by 12 inches.

Monday, October 25, 2010

Feathers in a Square

This quilt was made by a local lady who happens to be 97 years old!  It is for her very lucky granddaughter who graduated high school this year. 


She made a fancy-edging-flappy-deal around the inside of the squares with the dark green.  Im sure there is a technical term for it and that someone out there knows what it is.  Please let me know :)  I was searching for the right feathery pattern to do in the squares in Sally Terry's Hooked on Feathers book when i saw this one-It was perfect!  They were pretty fun to quilt too. 

High-loft batting really shows off the quilting on the back.  I la-la-loved this quilt!  I had a hard time giving it back to her. 

Tuesday, October 19, 2010

Irish Chain for a Wildcat

This quilt by Karen was made for a Kansas State fan.  She is new to quilting but I think she did an excellent job piecing this ambitious pattern.   


I tried to do a more "manly" quilting design and like how this one turned out.  It makes me think of a fancy paint job on a hotrod motorcycle.  Irish chains are tricky to quilt with all those diagonal sections and then the big open spaces which are flattened on the edges of the quilt. 


And then there are those tricky little grey squares that looked perfect for a little star inside.  I somehow managed to have Karen go from hating everything about this quilt to loving it.  Woo-woot!

Thursday, October 14, 2010

AQS Show

Last weekend I attended the AQS (American Quilter's Society) Show in Des Moines.  My head is STILL spinning from the overwhelming amount of quilt gorgeousness.  You could spend an entire day just looking at the show quilts, then another entire day shopping at the hundreds of booths and vendors from across the US- and still not see nearly all of it! 

I also took a couple of longarm quilting classes from Judy Woodworth- an award winning quilter and super nice lady.  Boy, does she make it look effortless!  We watched as she demonstrated numerous designs, then we were able to attempt some of the designs on the HQ18 machines they had set up. 

This is a wholecloth, quilted by Judy and painted by her husband.  What teamwork!


This quilt is called "South of the Border".  I thought that this was the front of a wholecloth quilt, but this is actually the BACK.  wow.  The front of the quilt is pictured in her book- Freemotion Quilting. 


I decided that I really need to upgrade my machine to one with a stitch regulator.  Maybe next year I will take one home with me!  I need to start saving asap.  Anyway- Judy was really encouraging and she even signed my book!  If you get a chance to take one of her classes, I would recommend it. 

The AQS Show will be in Des Moines each year until 2013.  If you can swing it- Its definitely worth the trip.  It will provide you a humbling kick in the rear to up your quilting techniques and inspire you enough to last the whole year through.

Wednesday, October 6, 2010

Happy Scrappy Baby Quilt


This baby quilt was inspired by Crazy Mom Quilts Color Wheel Quilt.  I have lots of scraps that I can never seem to get rid of--they just keep multiplying!  So when I saw Amandajean's post, I thought this was a great way to use them up.  I love using scraps, but sometimes scrappy quilts can look a bit chaotic with a bajillion different colors, patterns, even textures.  This way, it is still very much scrappy, but dosent look like a huge pile of confetti.   Gee, sort them by color...what a genious concept!!  Now I keep a stock pile of different colored blocks on hand to whip up a baby quilt in a jiff. 

Here's how to make it:

1. Sort scraps by color.
2. (The fun part) Sew pieces together randomly until you get a big enough block.  Mine measure 10" square, 9.5" finished. 
3. Square up your blocks.  Any sizable trimmings can go back into your scrap pile to make another block!
4. Sew on sashing.  I think I cut mine 2 or 2.5 inches, I cant remember.
5. Quilt it
6. Bind it.
7. Take a picture of it.  I try to keep a photo album of all the quilts I make.  Although, I sometimes forget to snap a picture before I give it away. 
8. Give it to a baby.

There you have it--My very first tutorial!  Details Schmetails.

I quilted a different design in each block....except for 1 repeat.  Can you find it?

Saturday, October 2, 2010

Funky Log Cabin

This quilt was created by my sister.  The log cabin blocks have strips of various widths and sizes for a wonky effect.  She is the Queen of Wonk and Scraps.  So, how the heck do you quilt this??  Well, I thought about the light verses dark areas and decided to highlight the contrast with different textures.  And I wanted to be able to quilt the whole row of dark areas and light areas in one complete pass- without having to stop, cut the thread, reposition the machine, do another section, stop, repeat a thousand times.  It takes me forever.  Me no likey.

I did loopy loops in the dark, and a more linear design in the light.  Can you see in the dark area how I squeaked through to the next section?  In the border I practiced my feathers.  I use the "Hooked on Feathers" technique by Sally Terry.  I really like her method and how there is very little backtracking.   I am lucky that my sister is not too particular and that she lets me use her quilts as guinea pigs for new designs.  And she makes quite a few of them!  Keep 'em comin!